


Storyboard | Learn How to Create the Best Storyboard Here
Rent film gear from local filmmakers.
Rent film gear from local filmmakers.


As a filmmaker, the concept of prepping is no news to you. I'd say it's part of your nature. It goes for any kind of video; serious prep is not nice to have; it's very much need to have. Luckily, there's more than one way to skin a cat. Laying out your vision in a storyboard – is one of them.
The fastest and easiest way of getting started on making a storyboard? A storyboard template.
What is a storyboard, and how to make a storyboard, you ask? Let's discover.
What is a storyboard?
Storyboarding is a tool for filmmakers to map out and visualize everything that will happen in your filmmaking project, shot by shot. It's made up of a number of panels that includes:
- Drawings, sketches, images or pictures to represent each frame
- A description of the shot – any relevant information on the action, dialogue, or composition
- Shot specs – shot size, lens length, two-shot, etc.
- Arrows to indicate camera-, character movement or how each shot connects to the next.
Defining "exactly" what a storyboard is – that's really up to you. There's no golden rule, and what a storyboard is and includes is not set in stone. "What is a storyboard" I'll let you define that yourself; just know that it depends on what it is you need of information to be included and how detailed you want it to be.
So, with that in place – ready to learn how to create a storyboard?
How to make a storyboard
1. Break down the script
Before you take a deep dive, headfirst, take a step back and consider: do you know the story you're telling?
Because if not, it's next to impossible for you even to start creating a storyboard. So, look at the script, consider every little detail of every scene. That means, where is it all happening, which costumes are the characters wearing, blocking, staging, action, etc. All of these elements will affect what the storyboard eventually will include.
Overall, this is my way of saying – you have to learn how to walk before you run.
Already running marathons? Let's continue.
2. Start sketching it out
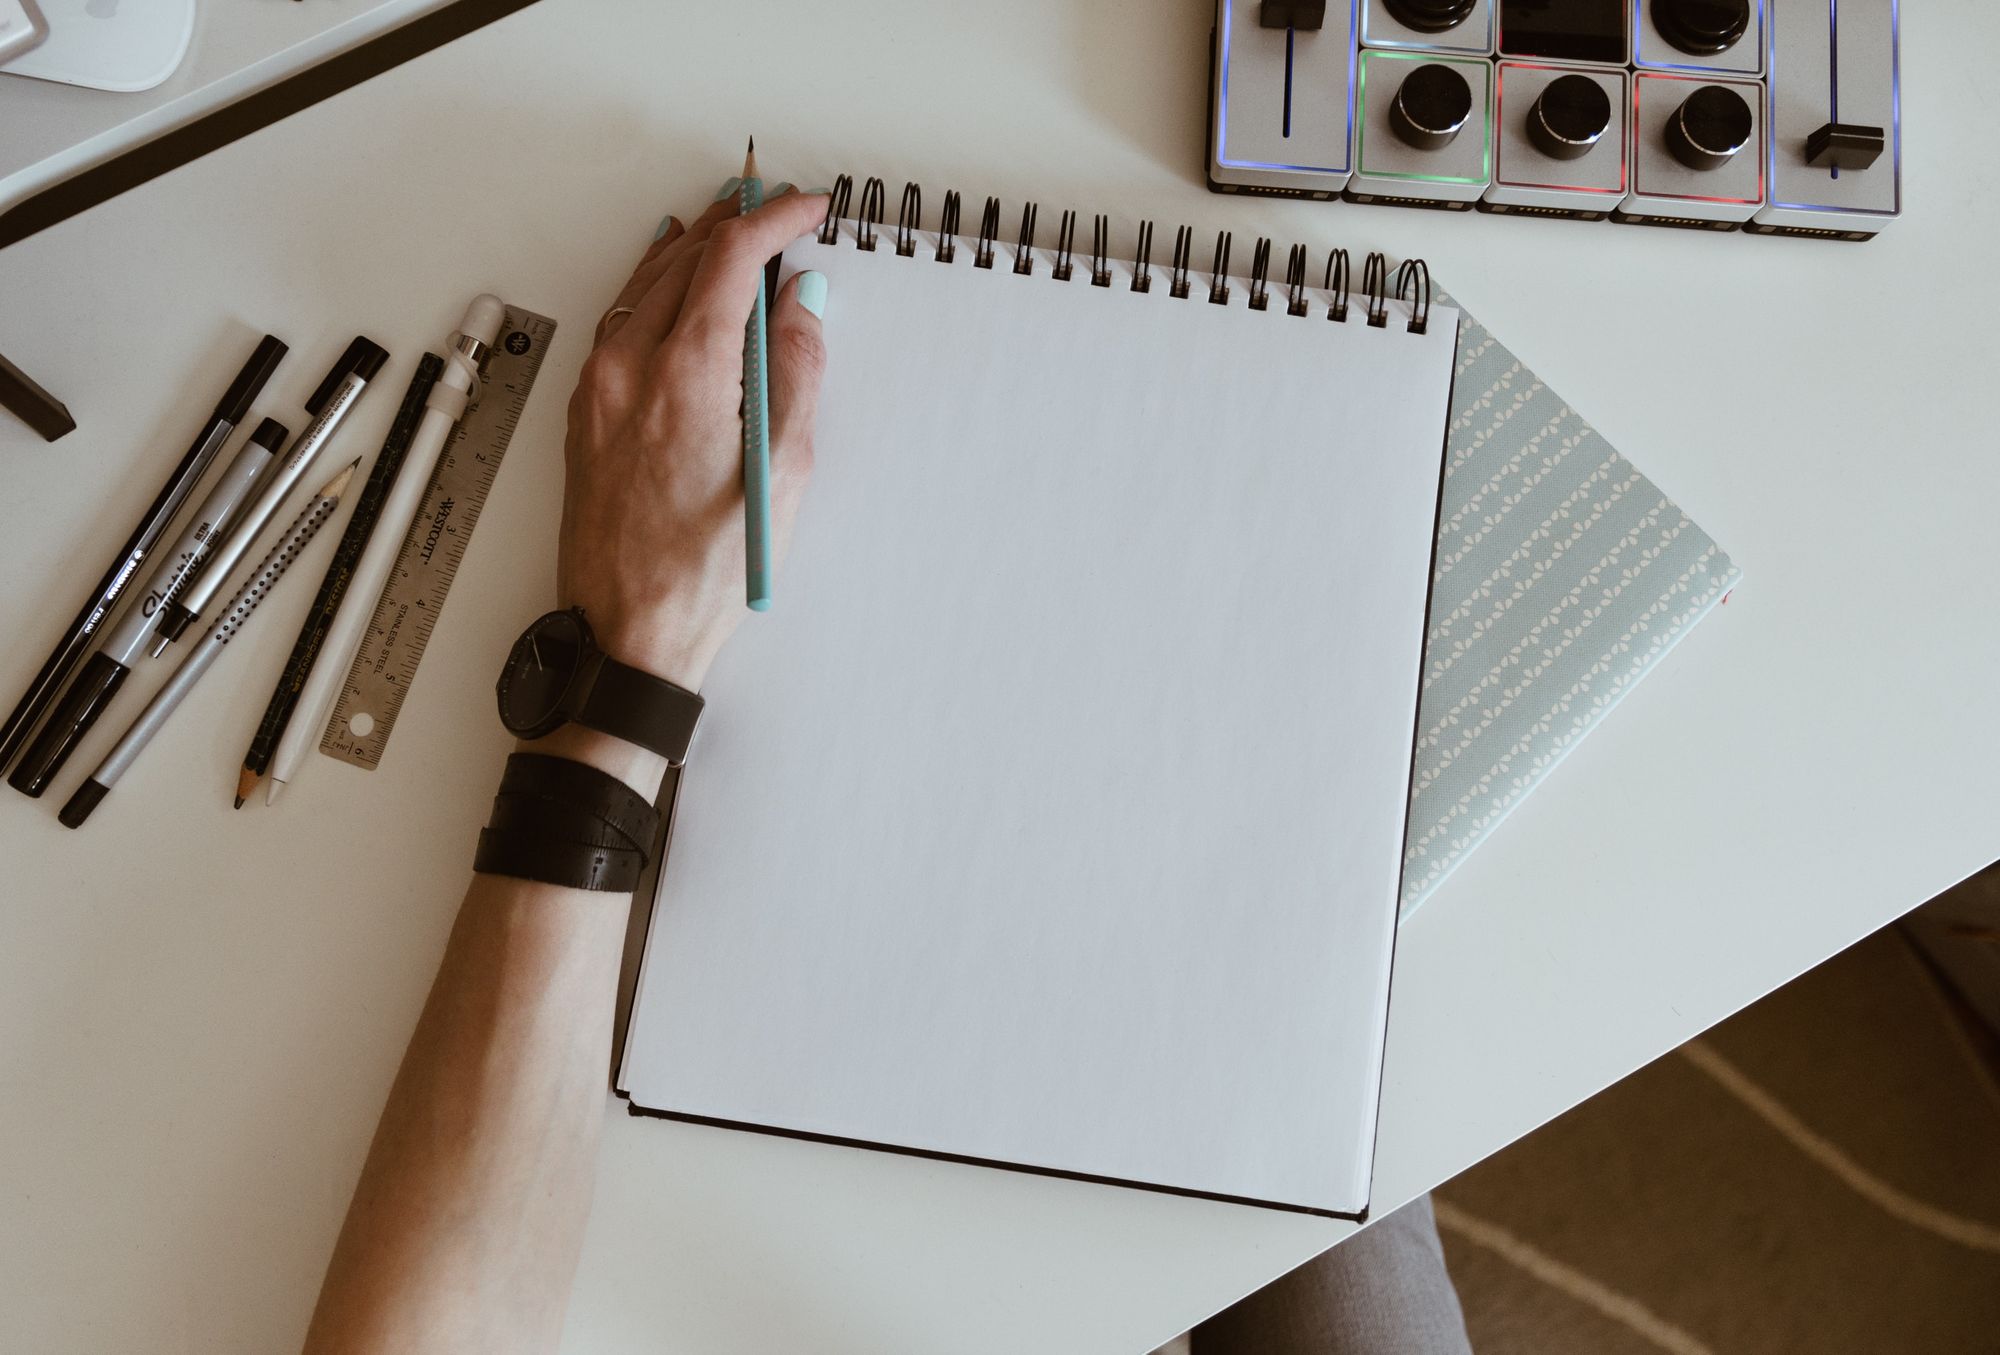
Start making rough illustrations of your work. Important to note – this is not the Sistine Chapel; no one expects you to relive Michelangelo's legacy.
Keep it rough. In short, this is where you turn a script from something written into something visual.
The primary purpose, at this point, is simply just to help you make sense of the narrative. It gives you an overview of your story. It lets you see if any changes or adjustments are needed without being overly concerned about visual style – stick figures or rough sketches will do the trick for now.
Once you start creating your film storyboard, consider:
- Aspect ratio. What's the purpose of your storyboard? The aspect ratio will dictate how you frame your images, so do yourself a favour and get this done early on.
- Get it working. Do parts of your script feel boring, misplaced? Are there gaps in time? Can some sections be removed? Great, write it all down and feed it back into your script.
- Ensure continuity. If your characters have been walking around the pouring rain for hours, they should be wet in the next scene as well. Always consider the chronological order and logic of your story.
- Shot number and scene number. Label all the shots and scenes within your storyboard, starting at 1. Without labels, your crew and creative collaborators won't be able to find heads or tails in your storyboard. If you're using more than one storyboard for the same shot, label them with letters as well, for examples, "1A, 1B, 1C", "and so on."
4. Add your script
Once you have a better visual overview of how your story will go down, you can start writing lines from the script under each picture (storyboard panel).
Also, consider adding additional notes at this point. Add notes at the bottom of the storyboard panels to give more context about what's going on. Include anything that can't be expressed only with visuals, for example, voice-over, sound effects, etc.
5. Edit your storyboard with details
Now, we're starting to get into the nitty-gritty of creating a storyboard. This is where your knowledge on how to make a storyboard is aiming at a higher level.
Once you've done the overall touches, it's time for your storyboard to get a makeover. At this point, you can start adding more subtler visual cues, such as mood, framing, colour, video transition effects, props, and so on.
Elements that are necessary for the story you're telling but might otherwise be missing from your script.
6. Include camera movement & angle
Incorporating camera movements and camera angles into your storyboard is a great way to pre-visualize how, when, and where the camera is placed and how it will move once production starts.
Get the hang of all the various camera movements and angles.
7. Add arrows to indicate motion
Learning how to make a storyboard is very much about "learning how to draw an arrow or several".
Arrows are a great way to indicate the motion on-screen. While creating a storyboard is the making of several static images. The result will be a moving video or animation.
Arrows show us where characters are going within the frame. Are they moving towards the camera? Walking away from it? Show it with arrows.
Psst* you can also use arrows for indicating your camera movement and angles.
And that's it! Now do it again.
Now that you're covered in the "how to create a storyboard" area, it's time to do it again and again – until you've finished your project.
Your finished storyboard should include all the necessary information needed for you and the reader to imagine how the finished project will look. Reviewing your images and notes for each shot, you and your crew can brainstorm on what adjustments and resources are needed.
How you write a storyboard, in the end, is totally up to you. The only thing you can do wrong is not making one in the first place.
What is the purpose of a storyboard?
Creating a storyboard might be time-consuming when you do it but highly time-saving once you start your production and post-production process.
Firstly, a storyboard helps to get everyone on the same page as you. When you have a storyboard, you can show exactly what and how the story should look — making it infinitely easier for others to understand your idea.
Secondly, a storyboard will make production a whole lot easier. Setting up a production plan, including all the needed shots and the order in which they will happen, makes it easy to make sure you capture everything required to make your idea a reality.
Thirdly, it will save you a great deal of time on the other end. Granted, it does take some time to put all this together. However, you'll avoid spending time filming unnecessary shots or lose money in video production or special effects. And remember – it's much easier (and cheaper) to make revisions to a storyboard than to a video.
Learning how to make a storyboard is not tricky; it's doing it that becomes the tricky part. Download our free collection of templates to start yourself off on the right foot.


